 affinity designer · HeyBraza shows you
how to use the pen tool in affinity designer
HeyBraza points at the pen modes and node handles in real time so your curves stop coming out jagged.

the pen and node tools are how you draw precise shapes in affinity designer, and they're the tools beginners find hardest - handles fly everywhere and paths come out lumpy. once you see how clicking versus dragging works and how the node tool cleans up, it clicks. here's the core workflow.
short answer
make sure you're in the vector studio, then use the pen tool (p): click for corner nodes, click-and-drag to pull handles for curves. close the shape on your first node, then switch to the node tool (a) to reshape and convert nodes between sharp and smooth.
or do it yourself
- 1pick the pen tool (p) from the tools panel - make sure you're in the vector studio (designer persona), not pixel.
- 2click to drop straight-line corner nodes; click-and-drag instead to pull out handles and make a curved node.
- 3in the context toolbar at the top, check the pen mode is 'pen' (not polygon/smart) for full control over each node.
- 4close the shape by clicking back on the first node, then switch to the node tool (a) to fine-tune.
- 5with the node tool, drag nodes or their handles to reshape, and use the toolbar to convert a node between sharp, smooth and smart.
steps last checked
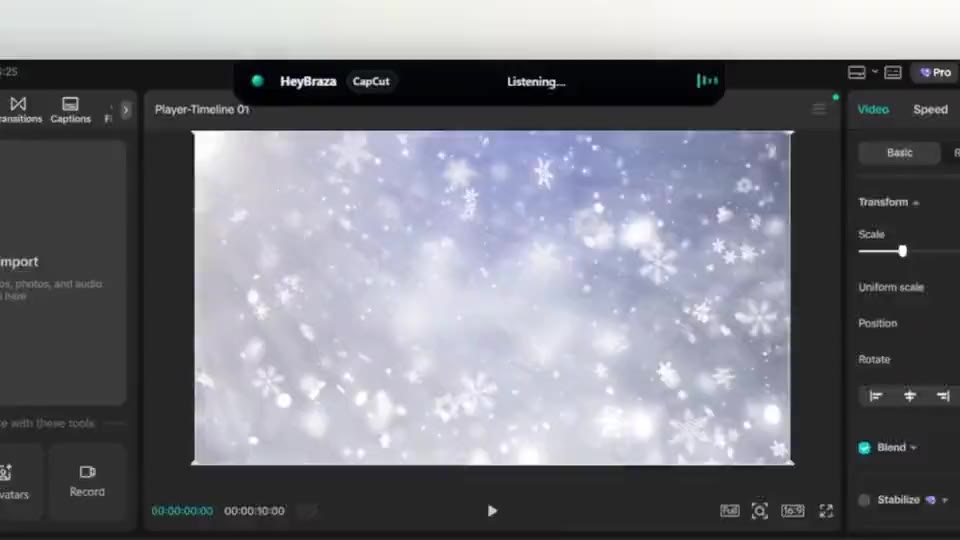
let HeyBraza do this with you
HeyBraza teaches you software while you're using it. hold a key and ask out loud - an ai tutor that sees your screen walks you through every step in real time, pointing and highlighting on your real work, talking you through it as it goes - not someone else's tutorial.
downloadcommon questions
why are my curves jagged or pointy?
you're dropping corner nodes by clicking - drag as you click to create curve handles, or select the nodes with the node tool and convert them to 'smooth'.
how do i move a path point after drawing?
switch to the node tool (a), click the node, and drag it or its handles; you don't need to redraw the whole path.